
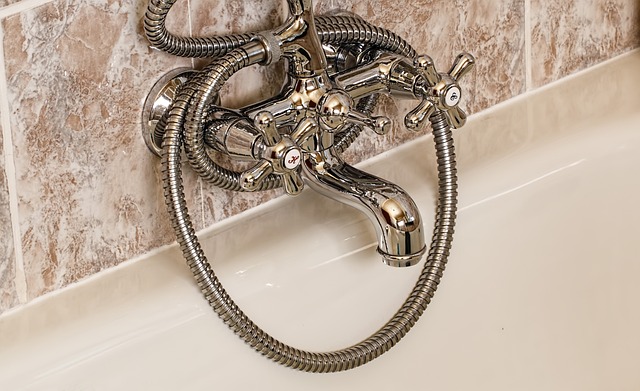
A leaky faucet is a common household problem caused by worn-out or damaged cartridges due to mineral buildup, corrosion, or wear. To fix it:
1. Turn off water supply valves.
2. Remove the handle and decorative caps.
3. Disassemble the faucet, lift away the base plate, and release the cartridge.
4. Gather new cartridge, pliers, and a bucket.
5. Unscrew the old cartridge counterclockwise.
6. Inspect spout and O-ring for debris or wear.
7. Align and insert the new cartridge, apply sealant to threads.
8. Turn on water to check for leaks.
Struggling with a leaky faucet? This comprehensive guide will help you tackle the problem head-on. We’ll walk you through identifying common causes and understanding the signs of a leaky faucet. Armed with the right tools and supplies, learn how to efficiently replace your cartridge, ensuring a swift end to that pesky leak. Follow our step-by-step disassembly, removal, and installation process for a successful leaky faucet fix.
Understanding Leaky Faucet Issues: Identify the Signs and Common Causes

A leaky faucet can be a persistent and frustrating issue, wasting water and potentially leading to higher utility bills. Understanding the signs and common causes of this problem is the first step in addressing it effectively. One of the most obvious indicators is the constant drip or trickle of water from the faucet, which can vary in intensity from a gentle drizzle to a steady stream. This not only wastes water but also contributes to higher water pressure, potentially damaging pipes over time.
Common causes of leaky faucets include worn-out or damaged cartridges, particularly in older fixtures. Cartridges are small components inside the faucet that control the flow of water. Over time, these can become damaged due to mineral buildup, corrosion, or general wear and tear, leading to leaks. Other factors such as improper installation, poor-quality parts, or loose connections can also contribute to leaky faucets. Identifying the specific cause is crucial for effective leaky faucet fix, ensuring the problem is resolved efficiently while minimizing water waste.
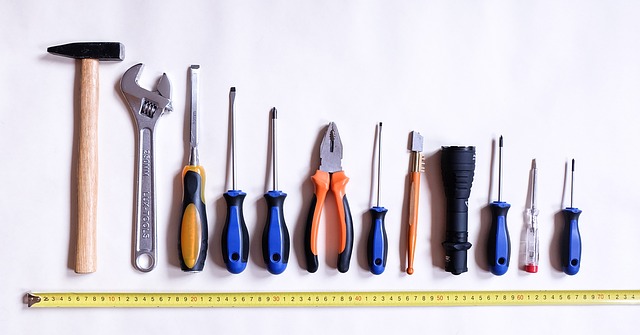
Gather the Necessary Tools and Supplies for Cartridge Replacement
Before tackling any leaky faucet fix, gather your tools and supplies. You’ll need a new cartridge, usually available in standard or high-arc configurations, depending on your faucet model. A wrench specific to your faucet’s size is crucial for removing the old cartridge without damaging parts. Also, prepare a bucket or towels as a catch-all for any residual water and prevent damage from excess moisture. Finally, have some pipe tape or solvent handy to ensure a secure, leak-free seal once the replacement is complete.
Turn Off the Water Supply to Prevent Further Leakage

Before you begin the replacement process, it’s crucial to turn off the water supply to prevent further leakage. This step is a key part of any leaky faucet fix. By shutting off the valves located under the sink or at the main water supply, you can stop the flow of water and contain any existing leaks. Once these valves are turned off, you’ll have the time needed to work safely and effectively on replacing the cartridge without worrying about water damage or ongoing leaks.
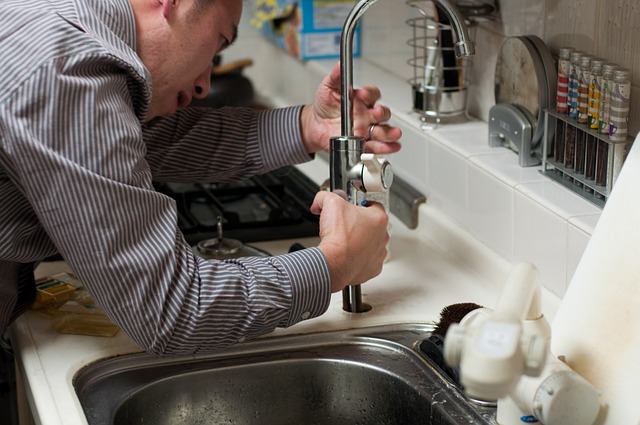
Disassemble the Faucet: A Step-by-Step Guide to Accessing the Cartridge
To access and replace the faucet cartridge, you’ll need to disassemble the faucet. Start by turning off the water supply valves located under the sink. Next, unscrew the handle and remove any decorative caps or covers from the faucet body. Depending on your faucet’s design, there may be screws securing a base plate or collar; unscrew and carefully lift this away to expose the cartridge. Some cartridges are held in place with clips, while others may have a retaining ring that needs to be slid or rotated free. Once the cartridge is accessible, you can proceed with the replacement process, ensuring proper sealing for a leaky faucet fix.
Remove the Old Cartridge: Tips for a Smooth and Efficient Process
To remove the old cartridge smoothly and efficiently during a leaky faucet fix, follow these simple steps. First, gather your tools: a new faucet cartridge, pliers, and possibly a bucket to catch any water that may spill. Second, turn off the water supply by closing the valves located under the sink. This is crucial to prevent any unexpected leaks while you work. Once the water is shut off, drain any residual water from the faucet and pipes to make disassembly easier. With your tools ready and water controlled, unscrew the old cartridge counterclockwise using pliers or a specialized tool designed for this task. Be careful not to apply excessive force, as it might damage the threads or other components. After removing the cartridge, inspect the sink’s spout and O-ring for any debris or wear.
Install the New Faucet Cartridge: Ensuring Proper Alignment and Sealing
To install the new faucet cartridge properly, alignment and sealing are key aspects in fixing a leaky faucet. Carefully align the cartridge with the existing hardware, ensuring it fits snugly into the valve body. Verify that all parts are correctly positioned, especially the O-rings or gaskets, which play a vital role in preventing leaks. After inserting the new cartridge, apply a suitable sealant or thread compound to the threads where the faucet connects to the sink. This step helps create a watertight seal, effectively stopping any future leaks.
Test and Adjust: Final Checks to Ensure Your Leaky Faucet is Fixed
After successfully replacing your faucet cartridge, it’s crucial to perform final checks before considering your leaky faucet fixed. Start by turning on the water and observing if the leak has been completely stopped. If there are any residual drips or leaks, adjust the new cartridge as needed. Ensure all parts are properly seated and secured.
Next, test the water pressure by running the faucet for a few minutes to see if it flows smoothly and consistently. Check if the temperature is balanced and adjust the hot/cold settings if necessary. Remember that a leaky faucet fix isn’t truly complete until these tests confirm your repairs have been successful.