
A leaky faucet caused by worn internal components can lead to water waste, higher bills, and property damage. Identify signs like dripping, pooling water, or unusual noises. Promptly assess the leak's pattern and source, gathering necessary tools and materials for repair. Turn off the water supply, disassemble the faucet, replace damaged parts, and reassemble tightly. Avoid common pitfalls by accurately identifying and using compatible replacement parts. Regularly inspect other fixtures and pipes for wear to prevent future leaks. For complex issues or emergencies, consult a professional plumber. Obtain quotes before work begins and implement water conservation practices after repair.
Tired of that persistent dripping? Discover how to tackle a leaky faucet with our comprehensive guide. Learn to identify the problem (Understanding the Problem), assess damage and causes (Assessing the Damage), gather tools (Gathering Necessary Supplies), and follow a step-by-step repair process (Fixing a Leaky Faucet). Avoid common mistakes (Common Mistakes) and implement preventive measures (Future Maintenance) for long-lasting solutions. Understand when professional help is needed (Professional Help) and explore cost estimates (Cost Estimates). Finally, conserve water efficiently (Water Conservation) after your successful leaky faucet fix!
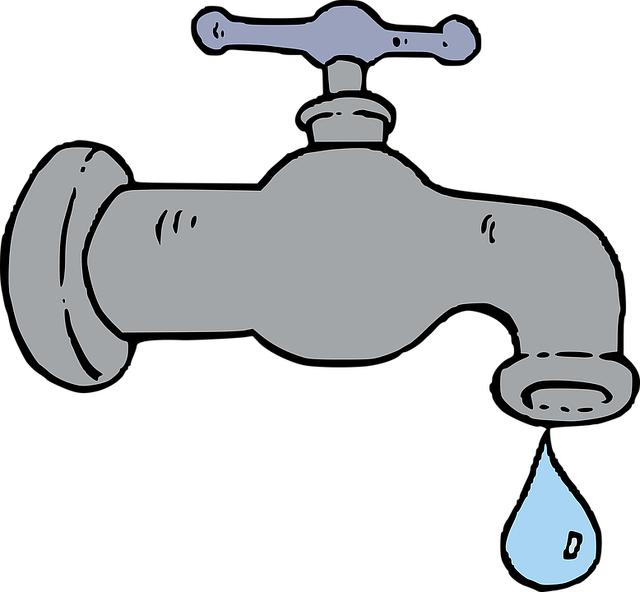
Understanding the Problem: Identifying a Leaky Faucet

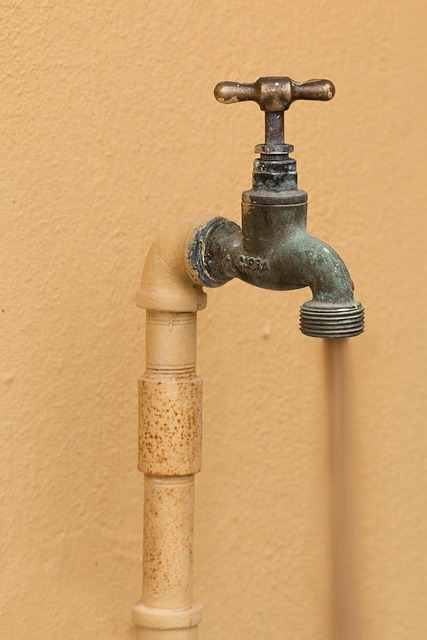
A leaky faucet can be an annoying and costly problem, often indicating a worn-out or damaged internal component. Identifying a leaky faucet is the first step towards fixing it. The most common signs include continuous dripping water, which could range from a slow trickle to a steady stream, depending on the severity of the leak. This not only wastes precious water but can also lead to higher utility bills and potential damage to your property due to water seepage.
When you notice these symptoms, it’s time to investigate further. Look for water pooling around the base of the faucet or signs of moisture on nearby surfaces and floors. Additionally, if the handle feels loose or moves abnormally, or if the faucet makes unusual noises when turned on, these could all be indicators that a repair is needed. Addressing a leaky faucet promptly can prevent more significant issues down the line.
Assessing the Damage and Potential Causes

When faced with a leaky faucet, the first step is to assess the damage and identify potential causes. Start by observing the leak’s behavior – is it a steady drip or an intermittent spray? This can help pinpoint issues like a bad washer or a faulty valve. Check for any visible signs of wear or damage on the faucet’s components, such as the cartridge, disc, or O-rings. These parts are common culprits in leaky faucets.
Additionally, consider environmental factors – hard water or mineral buildup can contribute to leaks over time. Corrosion and rust, often caused by exposure to moisture, can also weaken fixtures. By understanding these potential causes, you’re better equipped to tackle a leaky faucet fix efficiently.
Gathering the Necessary Tools and Materials
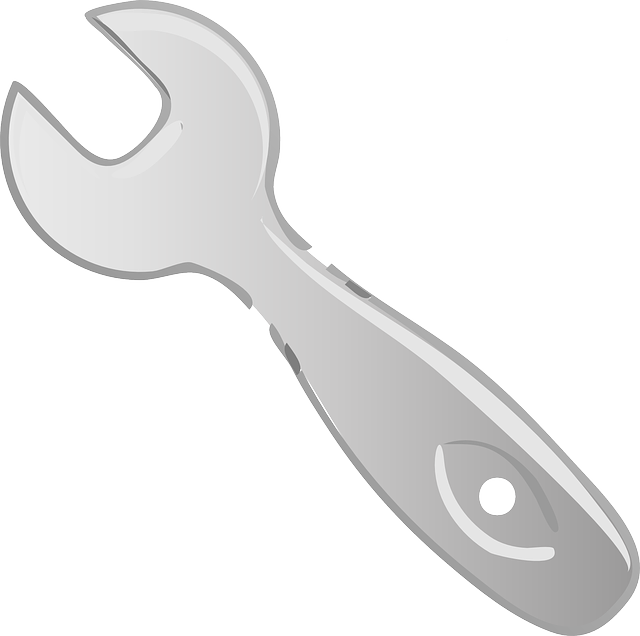
Before tackling a leaky faucet fix, ensure you have the right tools and materials on hand. This typically includes an adjustable wrench or pliers for gripping the faucet components securely, rubber gasket or O-ring replacements if the leak is due to a worn-out seal, and thread sealing tape or plumber’s putty for reinforcing connections. Also, gather bucket, gloves, and rags to contain any excess water and protect your hands during the repair process.
For a successful leaky faucet fix, organization is key. Arrange your tools and materials in easy reach to avoid delays and ensure a streamlined repair experience. Properly identifying the source of the leak is crucial; inspect the faucet handle, base, or supply lines for any signs of damage or corrosion. This knowledge will guide you in selecting the appropriate replacement parts and executing the fix efficiently.
Step-by-Step Guide to Fixing a Leaky Faucet
Fixing a leaky faucet is an easy DIY project that can save you money on your water bills and prevent unnecessary waste. Here’s a step-by-step guide to help you get started. First, turn off the water supply to your faucet. Typically, this can be done by twisting the shutoff valves located under the sink. Then, gather your tools: a wrench or pliers for loosening parts, a new washer or O-ring (common culprits in leaky faucets), and some thread sealant. Disassemble the faucet by unscrewing the handle and removing the screw that holds the washer or O-ring in place. Inspect these parts for wear and damage; if necessary, replace them with new ones. Reassemble the faucet, ensuring all parts are securely fastened. Finally, turn on the water supply and test the fix by turning on the faucet. If it’s still leaking, double-check your connections and try again.
Common Mistakes to Avoid During Repair
When attempting a leaky faucet fix, avoid common pitfalls that can prolong the repair or lead to further damage. One frequent mistake is ignoring the source of the leak. Many homeowners rush to shut off the water supply immediately, but without identifying where the leak originates, the problem may not be fully resolved. Take your time to locate the leak by checking each component—the faucet handle, disc, cartridge, or seal—and addressing it precisely.
Another mistake is using incompatible replacement parts. Always ensure you have the right components for your specific faucet model. Using generic parts without confirming their compatibility can result in an inefficient fix and potential further complications. Properly identifying and understanding your faucet’s parts will ensure a seamless leaky faucet fix, saving time, money, and preventing future disruptions.
Preventive Measures for Future Maintenance
Regular maintenance is key to preventing future leaks and keeping your plumbing system in top condition. After fixing a leaky faucet, take some time to inspect other fixtures and pipes for any signs of wear or damage. This proactive approach can help identify potential issues before they become full-blown emergencies.
Consider implementing a simple checklist to ensure regular checks. This may include testing all faucets for leaks, checking for water damage around sinks and pipes, and monitoring water pressure. By adopting these preventive measures, you’ll be one step ahead in the fight against leaky faucets and reduce the need for frequent repairs, ultimately saving you time and money.
When to Call in Professional Help
If a simple DIY repair isn’t effective or if your leak is coming from a complex area, such as behind walls or under floors, it’s time to call in professional help. Not all leaky faucet fixes are straightforward, and attempting an intricate repair yourself could lead to further damage or even costlier repairs down the line. A professional plumber has the expertise and tools needed to pinpoint the exact cause of the leak, whether it’s a faulty valve, worn-out O-rings, or a more significant plumbing issue.
Professional assistance is also advisable if you’re dealing with pressure problems or unusual noise when the faucet is turned on. These could indicate underlying issues that require specialized knowledge and equipment to fix safely and effectively. Remember, while a leaky faucet might seem like a minor inconvenience, ignoring it could lead to water waste and higher utility bills—a problem that professional repair services can efficiently address.
Cost Estimates for Emergency Faucet Leak Repairs

When faced with an emergency faucet leak, understanding the potential cost is crucial for any homeowner. The expense of a leaky faucet repair can vary greatly depending on several factors. One of the primary considerations is the extent of the damage and the complexity of the fix. A simple, minor leak might only require replacing a washer or O-ring, which is often a relatively inexpensive solution. However, more severe leaks involving damaged pipes, valves, or intricate faucet components could result in higher repair costs.
In terms of cost estimates for emergency leaky faucet fixes, you can expect to pay anywhere from $50 to $300 on average. The lower end of this range typically covers basic repairs with readily available parts. More extensive repairs might fall towards the upper end or even exceed $300 if specialized tools, replacement parts, or labor charges are involved. It’s always advisable to obtain quotes from reliable plumbers to get a clearer idea of the potential costs before embarking on any repair work.
Tips for Efficient Water Conservation After Repair

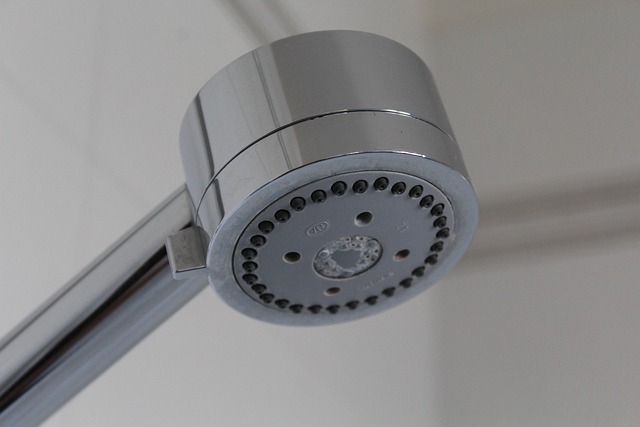
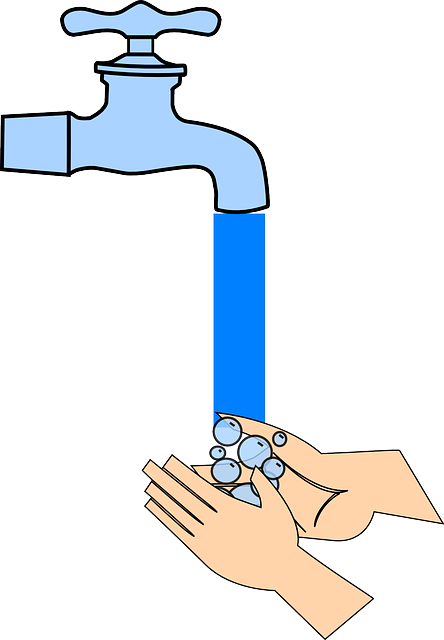
After successfully fixing a leaky faucet, implementing efficient water conservation practices is an essential step in maximizing your savings and contributing to environmental sustainability. One simple yet effective method is to install low-flow aerators or showerheads. These devices mix air with water, reducing the overall flow rate without compromising pressure, thus saving significant amounts of water over time.
Regularly checking for leaks is another crucial tip. Even after a leaky faucet fix, occasional checks can help identify potential issues early on, preventing future wastage. Encourage every household member to be mindful of their water usage by adopting simple habits like turning off the tap while brushing teeth or washing hands, and fixing any immediate leak that goes unnoticed.