
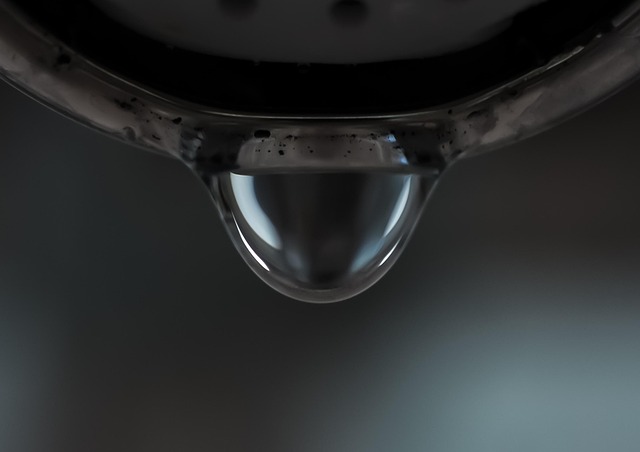
Leaky faucets are a common household issue, usually caused by worn-out parts like washers or O-rings. Before fixing, gather essential tools, turn off the water supply at the main shut-off valve, and prepare your workspace. Inspect the faucet components for damage and identify the source of the leak. Disassemble the faucet, clean the parts, replace worn-out seals or cartridges, and reassemble. Test the repair, addressing persistent leaks by rechecking connections. Regular maintenance, such as annual checks and lubrication, can prevent and mitigate leaky faucet issues. If DIY methods fail, consult a professional plumber for complex problems.
Tired of that persistent drip-drip-drip? You’re not alone. Leaky faucets are one of the most common home maintenance headaches. But fear not! Our comprehensive guide helps you tackle the problem head-on with a step-by-step approach. From identifying the source of the leak to testing and adjusting for a tight seal, we’ve got you covered. Learn how to perform this leaky faucet fix effectively, save money, and prevent future issues with expert tips on maintenance and when to call in a professional plumber.
Understanding Leaky Faucet Issues: Common Causes and Types

Leaky faucets are a common household issue, but understanding their causes is key to an effective leaky faucet fix. The most frequent culprit is a worn-out washer or O-ring inside the faucet’s spout. Over time, these components can deteriorate, allowing water to leak out around the seal. Another type of leak often occurs at the base of the faucet where it connects to the sink or countertop. This typically indicates a faulty valve seat or stem, which may require replacement to stop the leak.
In addition to these common causes, other types of leaky faucet issues can include aerator problems, where mineral buildup or a damaged aerator causes water to drip constantly. Cartridge faucets might also experience leaks due to a malfunctioning cartridge that needs professional repair or replacement. Identifying the specific type of leak is crucial for determining the most effective and cost-efficient leaky faucet fix.
Preparing for Repair: Gather Tools and Materials
Before tackling a leaky faucet fix, it’s essential to gather the right tools and materials. This DIY project requires minimal effort and can save you money on water bills and potential plumbing damage. Start by collecting items like pliers, an adjustable wrench, replacement washer or O-ring (often the culprit behind leaks), and some pipe tape or sealant. Ensure your workspace is well-lit and have a bucket nearby to catch any excess water while you work.
Additionally, preparing in advance includes turning off the water supply to prevent unexpected floods. Locate your home’s main shut-off valve, usually found near the water meter, and turn it clockwise to stop the water flow. This simple step can save you valuable time and make the repair process smoother. With the right tools and a few basic supplies, you’re well on your way to fixing that leaky faucet.
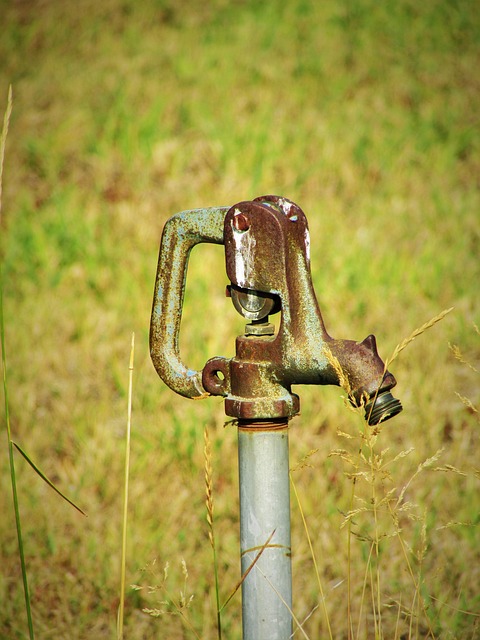
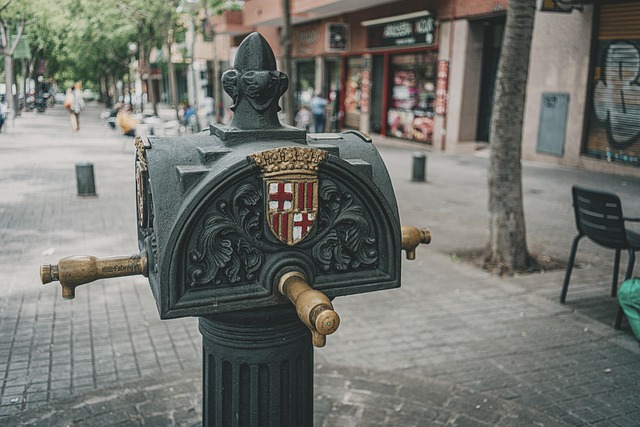
Identifying the Faucet Parts: A Visual Guide

When it comes to fixing a leaky faucet, understanding the various parts and their functions is key. Start by inspecting the faucet closely. The main components include the handle, cartridge (or valve), washer(s), and stem. Look for any visible damage or signs of wear, such as cracked or broken parts, corroded surfaces, or loose connections.
A visual guide can be incredibly helpful here. Check if the water flows from a specific area—for instance, between the handle and cartridge or around the washer(s). This will narrow down the source of the leak. Remember, different types of faucets may have unique designs, but the fundamental parts remain similar. By identifying these key elements, you’re taking a crucial step towards effectively addressing the leaky faucet fix.
Step-by-Step Process: Fixing a Leaky Faucet

Fixing a leaky faucet is a straightforward process that can save you money and reduce water waste. Start by gathering the necessary tools, including an adjustable wrench, pliers, and replacement faucet parts (like O-rings or washers). Turn off the water supply under the sink to prevent leaks while you work. Next, remove the faucet handle and spray hose with a solvent to loosen any mineral deposits. Use the pliers to grab and twist off the old O-ring or washer. Once removed, inspect the faucet’s internal parts for damage or wear. Replace the worn components with new ones from your kit. Reassemble the faucet, ensuring all parts are secure. Turn on the water supply and test the repair by turning on the faucet. If it’s still leaking, double-check your connections and replace any remaining faulty parts.
Handling Common Challenges During Repair

When tackling a leaky faucet fix, you may encounter some common challenges that can make the process seem daunting. One such issue is identifying the exact source of the leak, especially in older faucets where components can be intricate and hard to disassemble. Taking your time and examining each part carefully is crucial to pinpointing the problem area. Once located, replacing worn-out seals or cartridges can be a game-changer, stopping the leak almost instantly.
Another challenge could be tight connections and stubborn parts that refuse to budge. Using the right tools and applying gentle yet firm pressure can help overcome these hurdles. Remember, patience is key when dealing with a leaky faucet fix. With some persistence and the right approach, you’ll have it repaired in no time, saving you from the constant drip-drip-drip that drives everyone crazy!
Testing and Adjusting: Ensuring a Tight Seal
When addressing a leaky faucet fix, testing and adjusting are crucial steps to ensure a tight seal. After disassembling the faucet according to its type, inspect all parts for any debris or damage. Before reassembling, test each component individually by tightening or replacing as necessary. A common culprit in leaky faucets is an improperly seated O-ring or washer. These simple yet vital components can be easily replaced and should always be checked first.
Once the individual parts are deemed suitable, proceed to reassemble the faucet, ensuring each connection is secure. Tighten any adjustable parts gradually to avoid over-tightening. After reassembly, run water at a low pressure to detect any leaks. If leaks persist, further adjust the components or consider seeking professional assistance for a more complex leaky faucet fix.
Tips for Preventive Maintenance
Regular maintenance can often prevent a leaky faucet from becoming a persistent problem. One simple step is to check your faucets regularly for any signs of leaks or unusual noises. Even a minor drip can lead to significant water waste over time, so addressing it early is key.
To keep your faucets in top condition, consider lubricating the faucet’s O-ring or washer at least once a year. This small task involves disconnecting the faucet and applying a silicone-based lubricant to these parts, ensuring smooth operation and reducing wear that could lead to leaks. Additionally, keeping an eye on the faucet’s cartridge for any debris or damage can help in identifying potential issues before they become full-blown leaky faucet fixes.
When to Call in a Professional Plumber

If you’ve tried standard leaky faucet fix methods and the problem persists, it might be time to call in a professional plumber. While some leaks are easily solvable with basic DIY tools and know-how, others can indicate more serious underlying issues that require specialized expertise. A leaky faucet could be a symptom of damaged pipes, faulty valves, or even water pressure problems – issues that a plumber can accurately diagnose and repair.
Professional plumbers bring advanced tools and knowledge to the table, ensuring a thorough inspection and effective solution. They can also help prevent further damage by providing long-term solutions and offering advice on maintenance practices. Remember, timely intervention is key in leaky faucet situations; the longer you wait, the more extensive (and costly) the repairs may become.
Cost Analysis: DIY vs. Hiring a Pro
A leaky faucet can be a frustrating issue, but deciding whether to tackle it yourself or hire a professional is a crucial step in repairing your plumbing. DIY repairs for leaky faucets are often considered a relatively simple and cost-effective solution. Many people opt to take on this project as a way to save money, especially for minor leaks. The materials required, such as replacement parts and sealing compounds, are readily available at home improvement stores, making it an accessible option. Online tutorials and step-by-step guides can walk you through the process, ensuring even beginners can attempt a leaky faucet fix.
However, while DIY methods can be appealing, there are potential drawbacks to consider. For complex leaks or hard-to-reach areas, attempting a repair yourself might lead to further damage or an incomplete fix. Professional plumbers offer specialized knowledge and tools that can handle intricate issues efficiently. Hiring a pro may incur higher costs but guarantees skilled expertise and long-lasting repairs. In the long term, addressing a leak promptly by calling in a plumber could prevent water damage and reduce utility bills compared to repeatedly fixing DIY attempts.