
Leaky faucets waste water and money, but simple maintenance can prevent this. Homeowners can replace seals themselves using common tools and materials. Understanding faucet components and proper disassembly is key to success. Test new seals thoroughly before reassembling. Regular maintenance and cleaning extend seal life. DIY seal replacement saves money and promotes environmental responsibility.
Tired of that pesky leaky faucet? You’re not alone. Leaky faucets are a common household dilemma, wasting precious water and disrupting your routine. Luckily, fixing them is easier than you think! This comprehensive guide walks you through the process of replacing your faucet seal, from identifying the issue to maintenance tips for longevity. Learn how to tackle this DIY project effectively, save money on repairs, and say goodbye to leaky faucets once and for all.
Understanding Leaky Faucet Issues

Leaky faucets are a common household issue, but understanding the root cause is key to an effective leaky faucet fix. While it may seem like a simple problem, ignoring a leaky faucet could lead to more significant water waste and higher utility bills over time. The issue often arises from worn-out or damaged washer or O-ring seals inside the faucet. These components are responsible for controlling the flow of water, and when they degrade, water seeps out, causing the leak.
Regular maintenance can help prevent this from happening. However, if you notice consistent dripping or a steady flow even when the faucet is turned off, it’s time to address the problem. Replacing these seals is usually a straightforward process but requires some basic tools and knowledge. By taking the time to learn how to fix a leaky faucet, homeowners can save money on repair costs and contribute to water conservation.
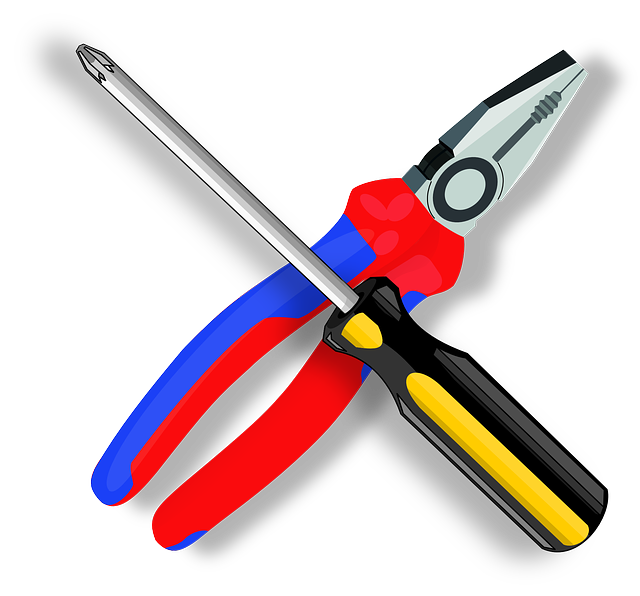
Gathering Necessary Tools for Repair
Before you begin your leaky faucet fix, it’s crucial to gather all the necessary tools. For most standard faucets, you’ll need a new O-ring or washer, pliers, a screwdriver (both flathead and Phillips), and possibly a new faucet stem depending on the damage. These tools will enable you to disassemble the faucet, replace worn parts, and reassemble it securely without any leaks.
Make sure your workspace is well-lit and have all tools within reach for a smooth repair process. Proper preparation can save you time, frustration, and potentially costly mistakes. Remember, a leaky faucet isn’t just an annoyance—it can also lead to wasted water and higher utility bills. So, gathering the right tools and taking proactive steps to fix it is both environmentally responsible and financially sensible.
Identifying Your Faucet's Components
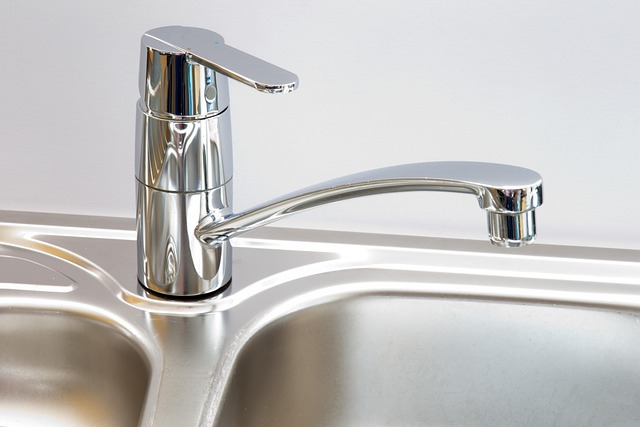
When tackling a leaky faucet fix, understanding your faucet’s components is key. Start by removing the handle and spout to expose the inner workings. You’ll typically find several parts: the stem, cartridge (or valve assembly), O-rings or seals, and a washerman. Each of these plays a crucial role in the faucet’s operation. The stem controls the water flow, while the cartridge manages the hot and cold water mix. O-rings and seals ensure a tight seal to prevent leaks, and the washer helps maintain water pressure.
By familiarizing yourself with these parts, you can easily identify which ones need replacement when your faucet starts to leak. Many leaky faucet fixes involve simply swapping out worn-out O-rings or cartridges, making it a relatively straightforward DIY project for homeowners.
Removing the Old Seal Effectively

When tackling a leaky faucet fix, removing the old seal is a crucial step in the repair process. Start by turning off the water supply to prevent any leaks during the removal process. Next, use a wrench or pliers to carefully loosen and remove the existing faucet seals or O-rings. These components are often located beneath the faucet’s handle or at the base of the spout. It’s important to take note of how they are arranged to ensure proper installation of the new ones.
Be mindful that old seals can be stubborn, so applying a small amount of penetrating oil or liquid soap around the edges can help facilitate their removal without causing damage. Once removed, inspect the faucet’s internal components for any signs of wear and tear. This visual assessment will help determine if additional parts need replacing as part of your leaky faucet fix.
Installing a New Faucet Seal Step-by-Step

Installing a new faucet seal is a straightforward process that can effectively fix a leaky faucet. Here’s a step-by-step guide to help you get the job done efficiently. First, shut off the water supply to your faucet using the valves located under the sink or at the base of the faucet. This prevents any leaks during the installation process. Next, remove the old faucet seal by unscrewing any screws or nuts securing it in place. Be careful not to damage the surrounding components while doing this. Once the old seal is removed, inspect the faucet parts for any wear and tear, ensuring that all pieces are in good condition before replacing the seal.
Testing and Sealing the Faucet Properly

Before replacing the faucet seal, it’s crucial to test and ensure proper sealing to prevent future leaks. Start by turning off the water supply valves beneath the sink, then unscrew and remove the old faucet handle and seal. Next, use a thread sealer or pipe compound to coat the threads of the new faucet parts to create a watertight seal. Once assembled, turn on the water slowly and observe for any leaks at the base, handles, or where the spout meets the sink. If there are no leaks, you’ve successfully sealed the faucet properly. If a leak persists, double-check your connections, ensuring they’re tight without being overly forced, and reapply sealer if necessary. A well-sealed faucet is key to avoiding messy clogs and costly water damage from a leaky faucet fix.
Common Mistakes to Avoid During Replacement
When tackling a faucet seal replacement, it’s crucial to be aware of common mistakes that can make the process more challenging or lead to leaks. One frequent error is not properly identifying the type and size of the seal needed; ensure you have the correct spare part to avoid unnecessary frustration. Improper disassembly is another pitfall—take your time, follow instructions carefully, and use the right tools to prevent damage to the faucet’s internal components.
Another mistake to avoid is not cleaning the area thoroughly before installation. Debris or old seal residue can hinder a secure fit, leading to leaks. Additionally, rushing the process by skipping important steps can compromise the effectiveness of the repair. Remember, a leaky faucet fix is not just about replacing the seal; it’s about ensuring each step is executed correctly for long-lasting results.
Maintenance Tips for Longevity of New Seal

To ensure your newly replaced seal lasts as long as possible, proper maintenance is key. One effective tip is to regularly check for any signs of damage or wear and tear. Leaky faucet fix shouldn’t be ignored; even minor leaks can lead to significant water waste over time. So, keep an eye out for persistent drips or unusual noises coming from the faucet.
Additionally, using the right products can make a difference. Avoid aggressive cleaning chemicals that may strip away protective coatings on the seal. Instead, opt for mild soap and warm water when cleaning the faucet. After cleaning, always ensure the area is thoroughly dried to prevent any water damage that could compromise the new seal’s integrity.
Cost Savings and Benefits of DIY Faucet Seal Replacement

Replacing a faucet seal yourself is an easy and cost-effective solution for a leaky faucet. While many people may opt to call a plumber, tackling this repair project as a DIY can save significant costs, often ranging from $50 to $200, depending on the faucet’s age and type. Not only does it prevent the need for professional services, but it also empowers homeowners with a basic plumbing skill, fostering self-reliance in common home repairs.
The benefits extend beyond financial savings. By taking care of this issue yourself, you avoid the potential embarrassment of a leaky faucet marring your kitchen or bathroom aesthetics. Moreover, it’s an environmentally friendly choice, as fixing the leak can significantly reduce water wastage, contributing to a greener lifestyle and potentially lowering utility bills over time.