
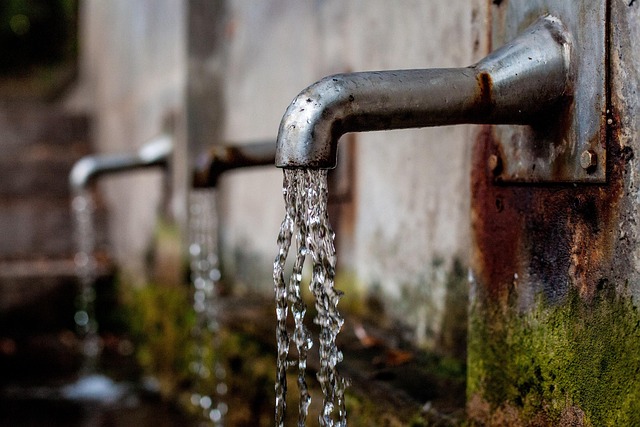
Leaky faucets waste water, damage homes, and cost money. Promptly identify and fix leaks to save resources and prevent mold growth. Gather essential tools, follow a step-by-step guide, and address small issues early. For severe or persistent leaks, seek professional help to avoid temporary fixes. Regular cleaning and maintenance extend faucet life and prevent costly repairs.
Struggling with a leaky faucet? You’re not alone. Leaky faucets waste precious water and can significantly increase your utility bills. Luckily, understanding common causes and implementing prompt fixes can save you money and help the environment. This guide covers everything from identifying leaky faucet issues to essential tools for DIY repairs and maintenance tips to keep your faucets in top condition. Learn how to tackle these problems like a pro and say goodbye to wasteful leaks!
Understanding Leaky Faucet Issues: Common Causes and Effects

Leaky faucets are a common household issue that can lead to wasted water and increased utility bills. Understanding the causes behind these leaks is the first step in addressing them effectively. Often, leaky faucet fix begins with identifying the source of the problem, which can be as simple as a loose washer or O-ring, or more complex issues like faulty valve seats or damaged aerators.
The effects of a leaky faucet extend beyond financial concerns. Continuous water leakage can result in water damage to countertops, walls, and floors, potentially leading to costly repairs. Moreover, it increases the risk of mold growth and contributes to an inefficient use of this precious resource. Recognizing these issues promptly allows for timely intervention, saving both money and resources.
Benefits of Prompt Leaky Faucet Fix: Preventing Water Waste

A leaky faucet may seem like a small issue, but it can lead to significant water waste over time. Promptly addressing this problem is not just beneficial for your wallet but also for the environment. By fixing a leaky faucet, you prevent precious freshwater from going to waste, which is especially important in regions facing water scarcity.
Every drop counts, and with a simple repair, you can significantly reduce your household’s water consumption. This eco-friendly approach ensures that everyone has access to clean water for years to come. Moreover, fixing the issue early prevents the need for more expensive repairs as the problem escalates, making it an affordable and sustainable solution.
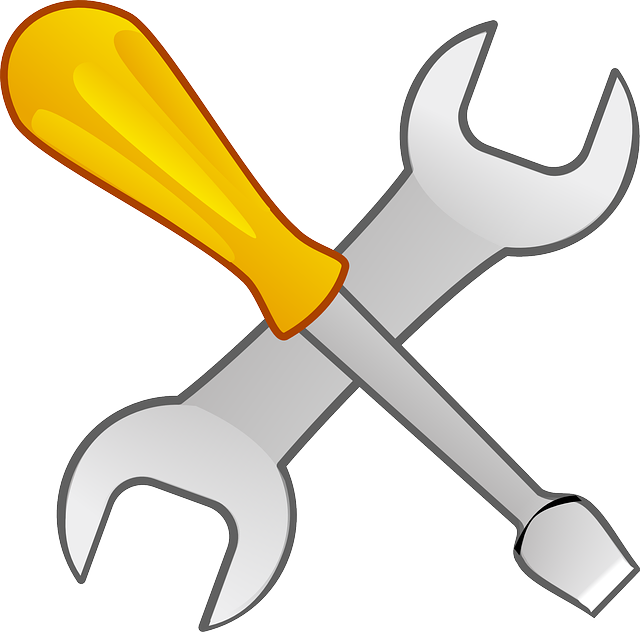
Essential Tools and Supplies for DIY Leaky Faucet Repair
When tackling a leaky faucet fix yourself, having the right tools and supplies is key to achieving a successful repair. Start with basic hand tools such as adjustable wrenches or pliers for gripping and turning components. A set of Allen keys can also be useful, as many faucet parts are secured with these hex screws. For more complex fixtures, a new O-ring kit and sealant may be necessary, ensuring you have compatible parts to match your faucet model.
Don’t forget protective gear like gloves and safety glasses; these safeguard against potential splashes or debris. Additionally, having a bucket and rags on hand can help manage water overflow during disassembly. With these essential tools and supplies, you’ll be well-prepared to tackle the leaky faucet fix and potentially save costs on professional repair services.
Step-by-Step Guide to Fixing a Leaky Faucet: A Simple Process

Many homeowners often overlook small issues like a leaky faucet, considering it a minor inconvenience. However, addressing this problem early can save you money in the long run. Fixing a leaky faucet is a straightforward process that doesn’t require professional help or costly repairs. Here’s a step-by-step guide to help you get started:
1. Turn Off the Water Supply: Before beginning any repair work, shut off the water supply to prevent leaks and water damage. Locate your home’s main shut-off valve, usually near the water meter, and twist it clockwise to turn it off.
2. Identify the Faucet Parts: Leaks can occur due to various parts of the faucet, including the washer, O-ring, or cartridge. Inspect the faucet closely to identify the culprit. Most faucets have a removable handle, exposing the spout and valve components.
3. Gather Replacement Parts: Purchase replacement parts that are compatible with your faucet model. Common replacements include washers, O-rings, and cartridges. You can find these at hardware stores or online retailers.
4. Disassemble the Faucet: With the water supply turned off, begin disassembling the faucet. Remove the handle, then unscrew the spout from the valve. Take note of how each part is connected for easy reassembly.
5. Replace the Faulty Part(s): Once you’ve identified the leaking component, replace it with a new one. For instance, if the washer is damaged, install a new one, ensuring it’s properly seated. Repeat this process for any other faulty parts.
6. Reassemble and Test: After replacing all necessary parts, carefully reassemble the faucet in reverse order of disassembly. Turn on the water supply at the main valve and check for leaks. If the faucet is now leak-free, your repair was successful.
When to Call the Professionals: Signs That Require Expert Attention

If you’re dealing with a leaky faucet, it’s often tempting to attempt a DIY repair to save costs. However, there are signs that indicate when it’s best to call in the professionals for a leaky faucet fix. A persistent or severe leak is one such signal; if water is continuously dripping, indicating a broken washer or O-ring, an expert plumber can swiftly replace these parts, stopping the leak effectively.
Another reason to reach out to affordable faucet services is if your faucet exhibits unusual noises, like squeaking or grinding. These sounds suggest worn-out components that might require replacement. Moreover, if your faucet handles feel loose or are difficult to turn, it could be a sign of structural damage or misalignment, necessitating professional assessment and repair for lasting solutions, rather than temporary fixes.
Maintenance Tips to Keep Your Faucets in Top Condition
Maintaining your faucets is an easy way to avoid costly repairs and ensure they last for years to come. Regular cleaning and inspection are key; use a soft cloth or brush to wipe down the faucet’s exterior, removing any mineral deposits or dirt that can hinder its function. Pay special attention to the areas around the base where leaks may occur. A simple solution of warm water and mild soap can be used to clean the spout and aerator, removing any buildup that could restrict water flow.
If you notice a leaky faucet fix is needed, don’t ignore it. Small leaks can quickly turn into bigger issues, wasting water and potentially causing damage to your sink or countertop. Inspect the faucet for loose parts or worn-out O-rings, which are common culprits. Replacing these parts is often an easy, DIY task that can prevent further problems. Regular maintenance will not only keep your faucets in top condition but also save you money in the long run.