
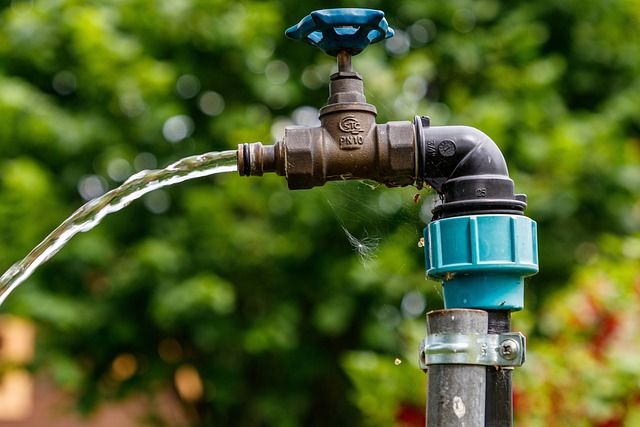
Leaky faucets are a common household issue caused by worn-out O-rings, washers, or valve design. Before fixing, gather essential tools and materials, including wrenches, pliers, and replacement parts. Shut off the water supply to prevent wastage during repairs. Inspect the faucet for damage, focusing on internal components like cartridges and seals. Replace old O-rings and washers, reassemble, and test for leaks. Regular maintenance, including inspections and cleaning, prevents future leaky faucet issues.
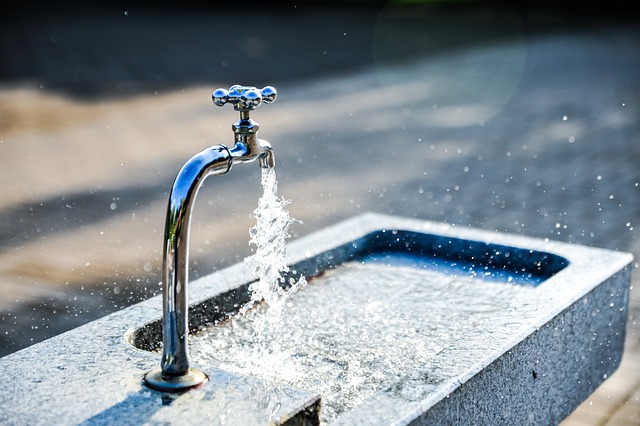
Are you tired of that relentless drip, wasting precious water and driving you crazy? Learn how to quickly and easily fix a leaky faucet with our step-by-step guide. We break down the causes of these common issues, provide a list of necessary tools, and walk you through disassembly, inspection, replacement, and reassembly. By following these simple tips, you’ll stop that drip, save water, and maybe even prevent future leaks!
Understanding the Causes of Leaky Faucets
Leaky faucets can be a common household issue, but understanding the root causes is key to an effective leaky faucet fix. The problem often arises from several factors related to both the hardware and usage. Worn-out O-rings or washer components are a frequent culprit, allowing water to escape around the seal. Over time, these parts can degenerate due to mineral buildup or general wear and tear, leading to persistent leaks. Another common cause is improper installation or loose fittings, which can result in water seeping through gaps.
Additionally, high water pressure and poor valve design can exacerbate the issue. High water pressure exerts more force on the faucet’s internal components, potentially causing damage or dislodging seals. Faulty valve cartridges or aerators may also contribute to leaks by not regulating water flow efficiently. Identifying these causes is crucial in effectively addressing and preventing future leaky faucet fix issues.
Gather the Necessary Tools and Materials

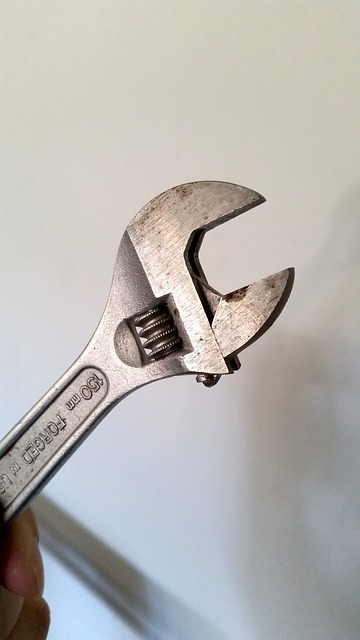
Before tackling a leaky faucet fix, make sure you have the right tools and materials on hand. This typically includes a wrench or pliers for gripping and turning components, an adjustable or combination wrench set, and a new washroom or kitchen faucet O-ring or gasket. You may also need thread seal tape (PTFE tape) to ensure a secure connection without leaks.
For more complex issues, a replacement cartridge or valve assembly could be required. It’s important to identify the specific type of your faucet for accurate parts selection. Gather these components from a hardware store or online retailer to efficiently address and stop that pesky leaky faucet fix.
Turn Off the Water Supply

Before tackling any leaky faucet fix, the first step is always to turn off the water supply. This crucial action prevents any further wasting of water and ensures that the repair process is safe and efficient. Locate the shut-off valves beneath the sink or behind the faucet; these are usually two small knobs connected to pipes. Turn each knob in a clockwise direction until you hear a distinct click, signaling that the water flow has been cut off. This simple yet vital step will allow you to proceed with confidence, knowing your repair efforts won’t be compromised by an ongoing water supply.
Disassemble the Faucet Components
When addressing a fast-flowing, leaky faucet, the first step is to disassemble its components to identify and pinpoint the source of the leak. Start by turning off the water supply valves located under the sink or countertop. This crucial step prevents any further wastage while you work on fixing the issue. Next, remove the faucet handle and any decorative covers to expose the cartridges or ceramic discs responsible for controlling water flow.
With these parts revealed, carefully disassemble them. You might need a screwdriver for this task. Inspect each component for damage, debris buildup, or worn-out seals. These are common causes of leaky faucets, especially in older fixtures. By thoroughly examining these elements, you gain valuable insights into the specific nature of the leak, making it easier to implement an effective leaky faucet fix.
Inspect for Damage and Wear
Before diving into any leaky faucet fix, it’s crucial to inspect your faucet for signs of damage or wear. Take a close look at the faucet handle, spout, and base. Over time, parts can become loose, corroded, or worn out, leading to leaks. Look for cracks, rust, or any abnormal discoloration, as these could indicate more severe issues that might require professional intervention.
During your inspection, pay particular attention to the O-rings and washers inside the faucet. These components are common sources of leaks. If they appear damaged or hardened, replacing them may solve the problem. Regular maintenance checks can help prevent minor issues from escalating into costly repairs, so consider making it a routine part of your home upkeep.
Replace Worn-Out Parts or O-Rings
If your leaky faucet fix isn’t as simple as adjusting the handle or tightening the stem, it might be time to replace worn-out parts. Over time, the O-rings or washer inside your faucet can degrade, leading to continuous leaks. These small but crucial components are responsible for sealing off the water flow and preventing any seepage. When they wear out, water continues to escape, no matter how much you adjust the faucet’s settings.
To replace these parts, you’ll need to shut off the water supply to your faucet. Then, disassemble the faucet according to its specific design. Once the old O-rings or washer are removed, install new ones that are compatible with your faucet model. Ensure a tight fit to avoid future leaks and have everything back together in no time, making your faucet as good as new again and stopping that persistent leaky faucet fix nightmare.
Reassemble the Faucet and Test for Leaks

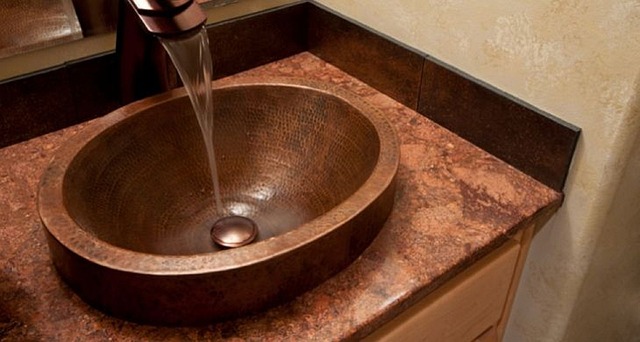
After replacing the washer or O-ring, carefully reassemble all parts of your faucet. Tighten any loose connections but be mindful not to overtighten, as this can cause damage. Once reassembled, turn on the water supply valves and give the faucet a quick test. Turn the faucet on fully and observe if there are any signs of leaks at the base, handle, or where the spout meets the counter. If you notice a persistent leak, double-check that all parts are properly seated and secured. It’s possible that an underlying issue may require professional attention. However, most leaky faucet fixes can be easily addressed by following these simple steps.
Tips for Preventing Future Faucet Leaks

To prevent future leaky faucet fix issues, regular maintenance is key. Start by inspecting your faucets periodically for any signs of damage or wear, especially around the seals and gaskets. These components are common sources of leaks and can be replaced relatively easily. Regular cleaning of the faucet’s aerator can also help extend its life and prevent leaks caused by mineral buildup.
Additionally, consider using water-saving aerators and ensuring all connections are secure. Tighten any loose parts and use the right tools to avoid damage during maintenance. By implementing these simple steps, you can significantly reduce the chances of a leaky faucet and save yourself time and money on potential repairs.